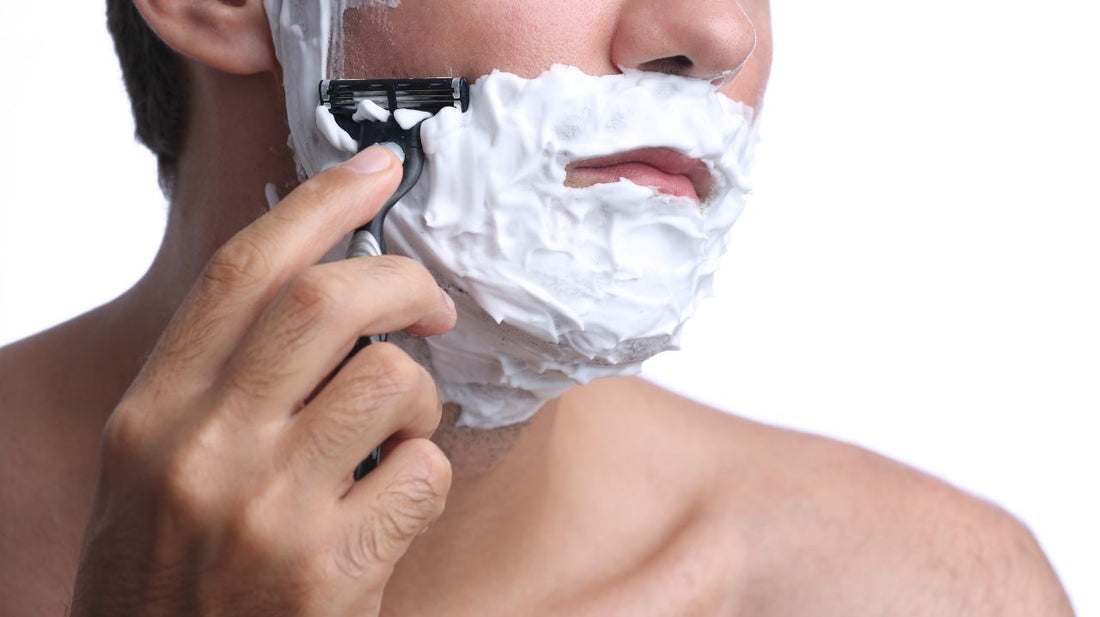
8 Steps To The Perfect Shave
Share
This is the first article in a series of 3 articles on skin care tips just for men. This very interesting subject has been the topic of conversation on several occasions among male clients and it took some time, but I have come up with a solution to this dilemma. In this article you will learn the eight steps to the perfect shave.
1. CLEANSE YOUR CANVAS
After a good old fashioned hand washing; start thoroughly cleansing your face and neck with tepid water and a cleanser specifically for your skin type (ex. hydrating cleanser for dry skin). In my opinion you should not use bar soaps, because they have a tendency to strip your skin of its essential oils. Cleansing is the first step in any good skin care routine. Steaming or shaving before you cleanse your face is never an option, you can trap dirty harmful little microorganisms in your freshly opened pores, and this can lead to breakouts. "I am well aware of the fact that i am challenging a tradition as old as the hills, but they (the hills) are wrong the first step in shaving is cleansing the skin this is esthetics 101". You are now ready for step two.
2. STEAM YOUR FACE
You can do this by using a hot towel or while taking a hot shower. When you shower make sure the water is hot enough to cause vapor in the bathroom and on the mirror. Steaming the face causes the pores to open up releasing what lies beneath, a whisker or two. With your whiskers now in position you can move on to step three.
3. USE A PRE-SHAVE OIL
Pre-shave oil helps to lubricate your skin and it prevents nicking, cutting, and irritation. When choosing an oil make sure that is non-comedogenic (doesn't block pores). A dime-sized amount in the palm of your hand is all that is needed, dime sized not enough, silver dollar sized amount should do the trick on a slightly larger face. You will want to massage it thoroughly into your beard, this helps to soften your whiskers and it also keeps the razor gliding across your skin, remember we love it when a razor glides. Please don't overly concern your self with the fact that your face now has a sudden semi-gloss, you are now ready for step four.
4. SHAVING CREAM
Using a wet badger brush whip your shaving cream into a lather. Brushing encourages the hairs on your face to stand at attention, and that is what we want. Spread the whipped shaving cream using your badger brush over your well oiled face. F.Y.I. I do not like it when you use super foamy things like canned shaving creams and soaps, they make it nearly impossible for the razor to get close enough to your skin. I prefer it when you use the good stuff, a shaving cream that produces just enough lather for your razor and skin to get up close and p-e-r-s-o-n-a-l, you can proceed to step five.
5. THE TRIAL RUN
Your razor should always without exception or hesitation be used in the direction that your hair grows. This is called shaving with the grain. Shaving in this direction helps prevent ingrown hairs by lifting the whiskers from your pores. You can start shaving at the sideburn of your choice and work your way downward paying careful attention to the direction in which your hair grows. Be sure to save your neck for last, this gives the shaving cream and oil a little extra time to soften the cuticle of the whiskers on your neck, since the skin on your neck is thinner than the skin on your face. Make sure you always use long even strokes, shaving with the grain,and be sure to rinse your razor blade often. Proceed to step six.
6. THE SECOND TIME AROUND
repeat steps four and five. Proceed to step seven
7. RINSE CYCLE
After you have finished shaving, you want wash away any left over shave oil or cream, and close your pores, you can do this by repeatedly splashing your face with cold water. Then you want to pat dry (not wipe) your face using a towel. Remember you wipe your nose, and pat dry your face. Proceed to step eight
8. AFTER-SHAVE CARE
Now it is time to show your skin some love after you just traumatized (shaving is skin trauma) it by using a soothing balm, after shave moisturizer, or a toner depending on your skin type, and lightly pat on the product until it is absorbed into your skin. Finish by properly cleaning and storing your shaving utensils. You are now ready to proceed to your nearest talent agency, with a shave this close you are bound to be cast as the next Gillette model.
In this article you learned the importance of cleansing your face before steaming it, as well as shaving in the direction that your hair grows. In the next article you will learn what to look for in skin care products for men.
